To date I have not been camping off-grid more than 2 nights and have not needed 230V. Yet, you want to be prepared for anything, right?
The standard B-pillar inverter turned out to be broken. Am I going to replace it? Nope. Because this is not a pure sine wave inverter and therefore not ideal for sensitive equipment.
There is something to say that an inverter is actually not necessary in an camper, because almost everything can be connected via USB or 12 volts. Also it does not really make sense to convert 12 volts to 230 and back to 19 volts (e.g. laptop) or 42 volts (electric bicycle), just to give some examples. With every conversion there is a logical energy loss. But I still want the freedom not to have to buy a separate 12-volt adapter for each -possible- device. Is it more expensive? Yes, definitely. Does it give me a feel of more freedom? Gigantic!
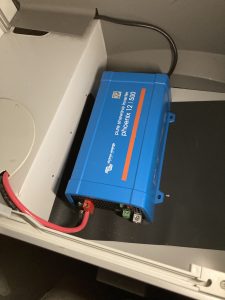
After doing some research the Victron inverter brand turns out to be the best. I choose the Victron Phoenix Inverter 12/500. This gives 500 (or 400, I read different specs on the internet, strange…) watts continuous. Not enough for a Nespresso (1200W) unfortunately ;-). But enough for what I think I need. Choosing a higher output inverter will put too much strain on the battery in my opinion.
The best place is at the bottom of the closet, just above the household battery. That place is most of the time difficult to reach for your day to day stuff and therefore ideally suited and you can make a simple connection with the battery through the existing opening and the cable will be as short as possible. I put a thin rubber/silicon mat under the inverter to prevent scratching and sliding.
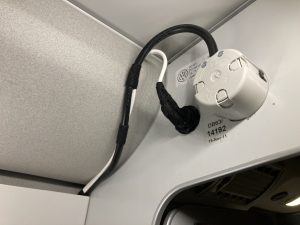
Because it is not useful to leave the inverter on by default (no-load current consumption approx. 3.1 watts), you only want to switch it on when you need it. The inverter has the option for a remote switch, a simple make/break contact. Ideal in this situation doing impossible antics to get to the switch located on the inverter.
In the beginning I had a loose extension cord attached to the converter in the closet, but I didn’t like it that much. That could be better!
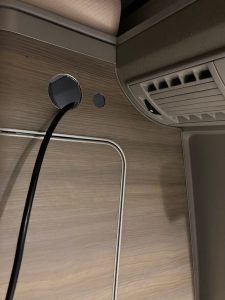
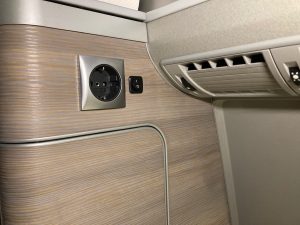
I used the same Berker Integro wall outlet as you can find on the side of the kitchen, keeping the looks as original.
What you need:
- the Berker wall outlet
- the panel jack and
- the chrome coloured frame.
(TopTip: Doing research in your own country can make a difference, I’ve seen big price differences for these parts.)
And for the switch I used a simple on/off switch. Keep in mind: the power is 5 volts, most rocker switches with a led light run on 12 volts and will not show you if it’s on or off, I found out. I replaced the one with a led light for this one. It has a nice square frame, analog to the Berker frame and a sturdy way of mounting by means of the screw ring on the back unlike most, which you click in.
All things considered, this is a simple job. The hardest part was drilling the holes in the cabinet. Ouchs, that hurts. You need a 45 mm hole saw for the wall outlet and 20 mm step- or holedrill for the switch, but that differs per switch.
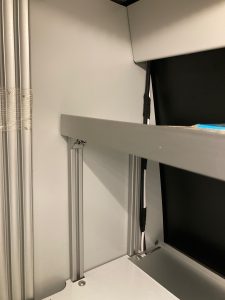
Route the wiring as you like.